I AM A

We Make You Smile

DIY Sandwich Wrap

diy, yumI AM A1 Comment
image.jpg

With the Queen's 90th birthday this weekend and the picnic season in the loom. Sandwiches are much called for. It will be one of the street party foods served during the street party at the Mall at the Patron's Lunch. Many neighborhoods across the UK will also be celebrating with their own street party or having a picnic. We had a peek at Marks and Spencer's website on what will be served at the Patron's lunch to 10,000 people celebrating along with the Queen - all we can say it is definitely nothing short of YUM and will be an absolute fun outdoor affair. Rain clouds... please make way for the sun. β˜€οΈ

We love picnics. One of the best past times we enjoy. With the sandwich featured in most picnics, afternoon teas and parties, let's dress them up and make them fun.

This tutorial is perfect for any sandwich shapes and sizes. Whether the sandwiches are finger sandwiches, baguettes, wraps, rolls, baps, triangular sandwiches etc., these wrappers will be applicable. Yay! ( We hope Nigella, Delia and Mary Berry - the domestic goddesses which totally inspire us will approve of this. )

Ingredients : 

  • Sandwiches of your choice 
  • Scissors
  • Sandwich wrap template downloadable from this link
  • A4 paper
  • Printer
  • Washi tape or Cellotape  
image.jpg

Method :

 1. Download the template and print it. Each sheet contains 3 strips in 3 different colors. If you are making a mixture of sandwiches, we have made 3 in this tutorial including Cucumber Sandwich, Coronation Chicken Sandwich and Egg and Cress Sandwich, it's a good way to differentiate the sandwiches by color coding them via three different color strips. 

2. Depends on the size of your sandwiches, roughly each paper stripe is good for 2 small sandwiches for example finger sandwiches or baguette, or 1 large sandwich. 

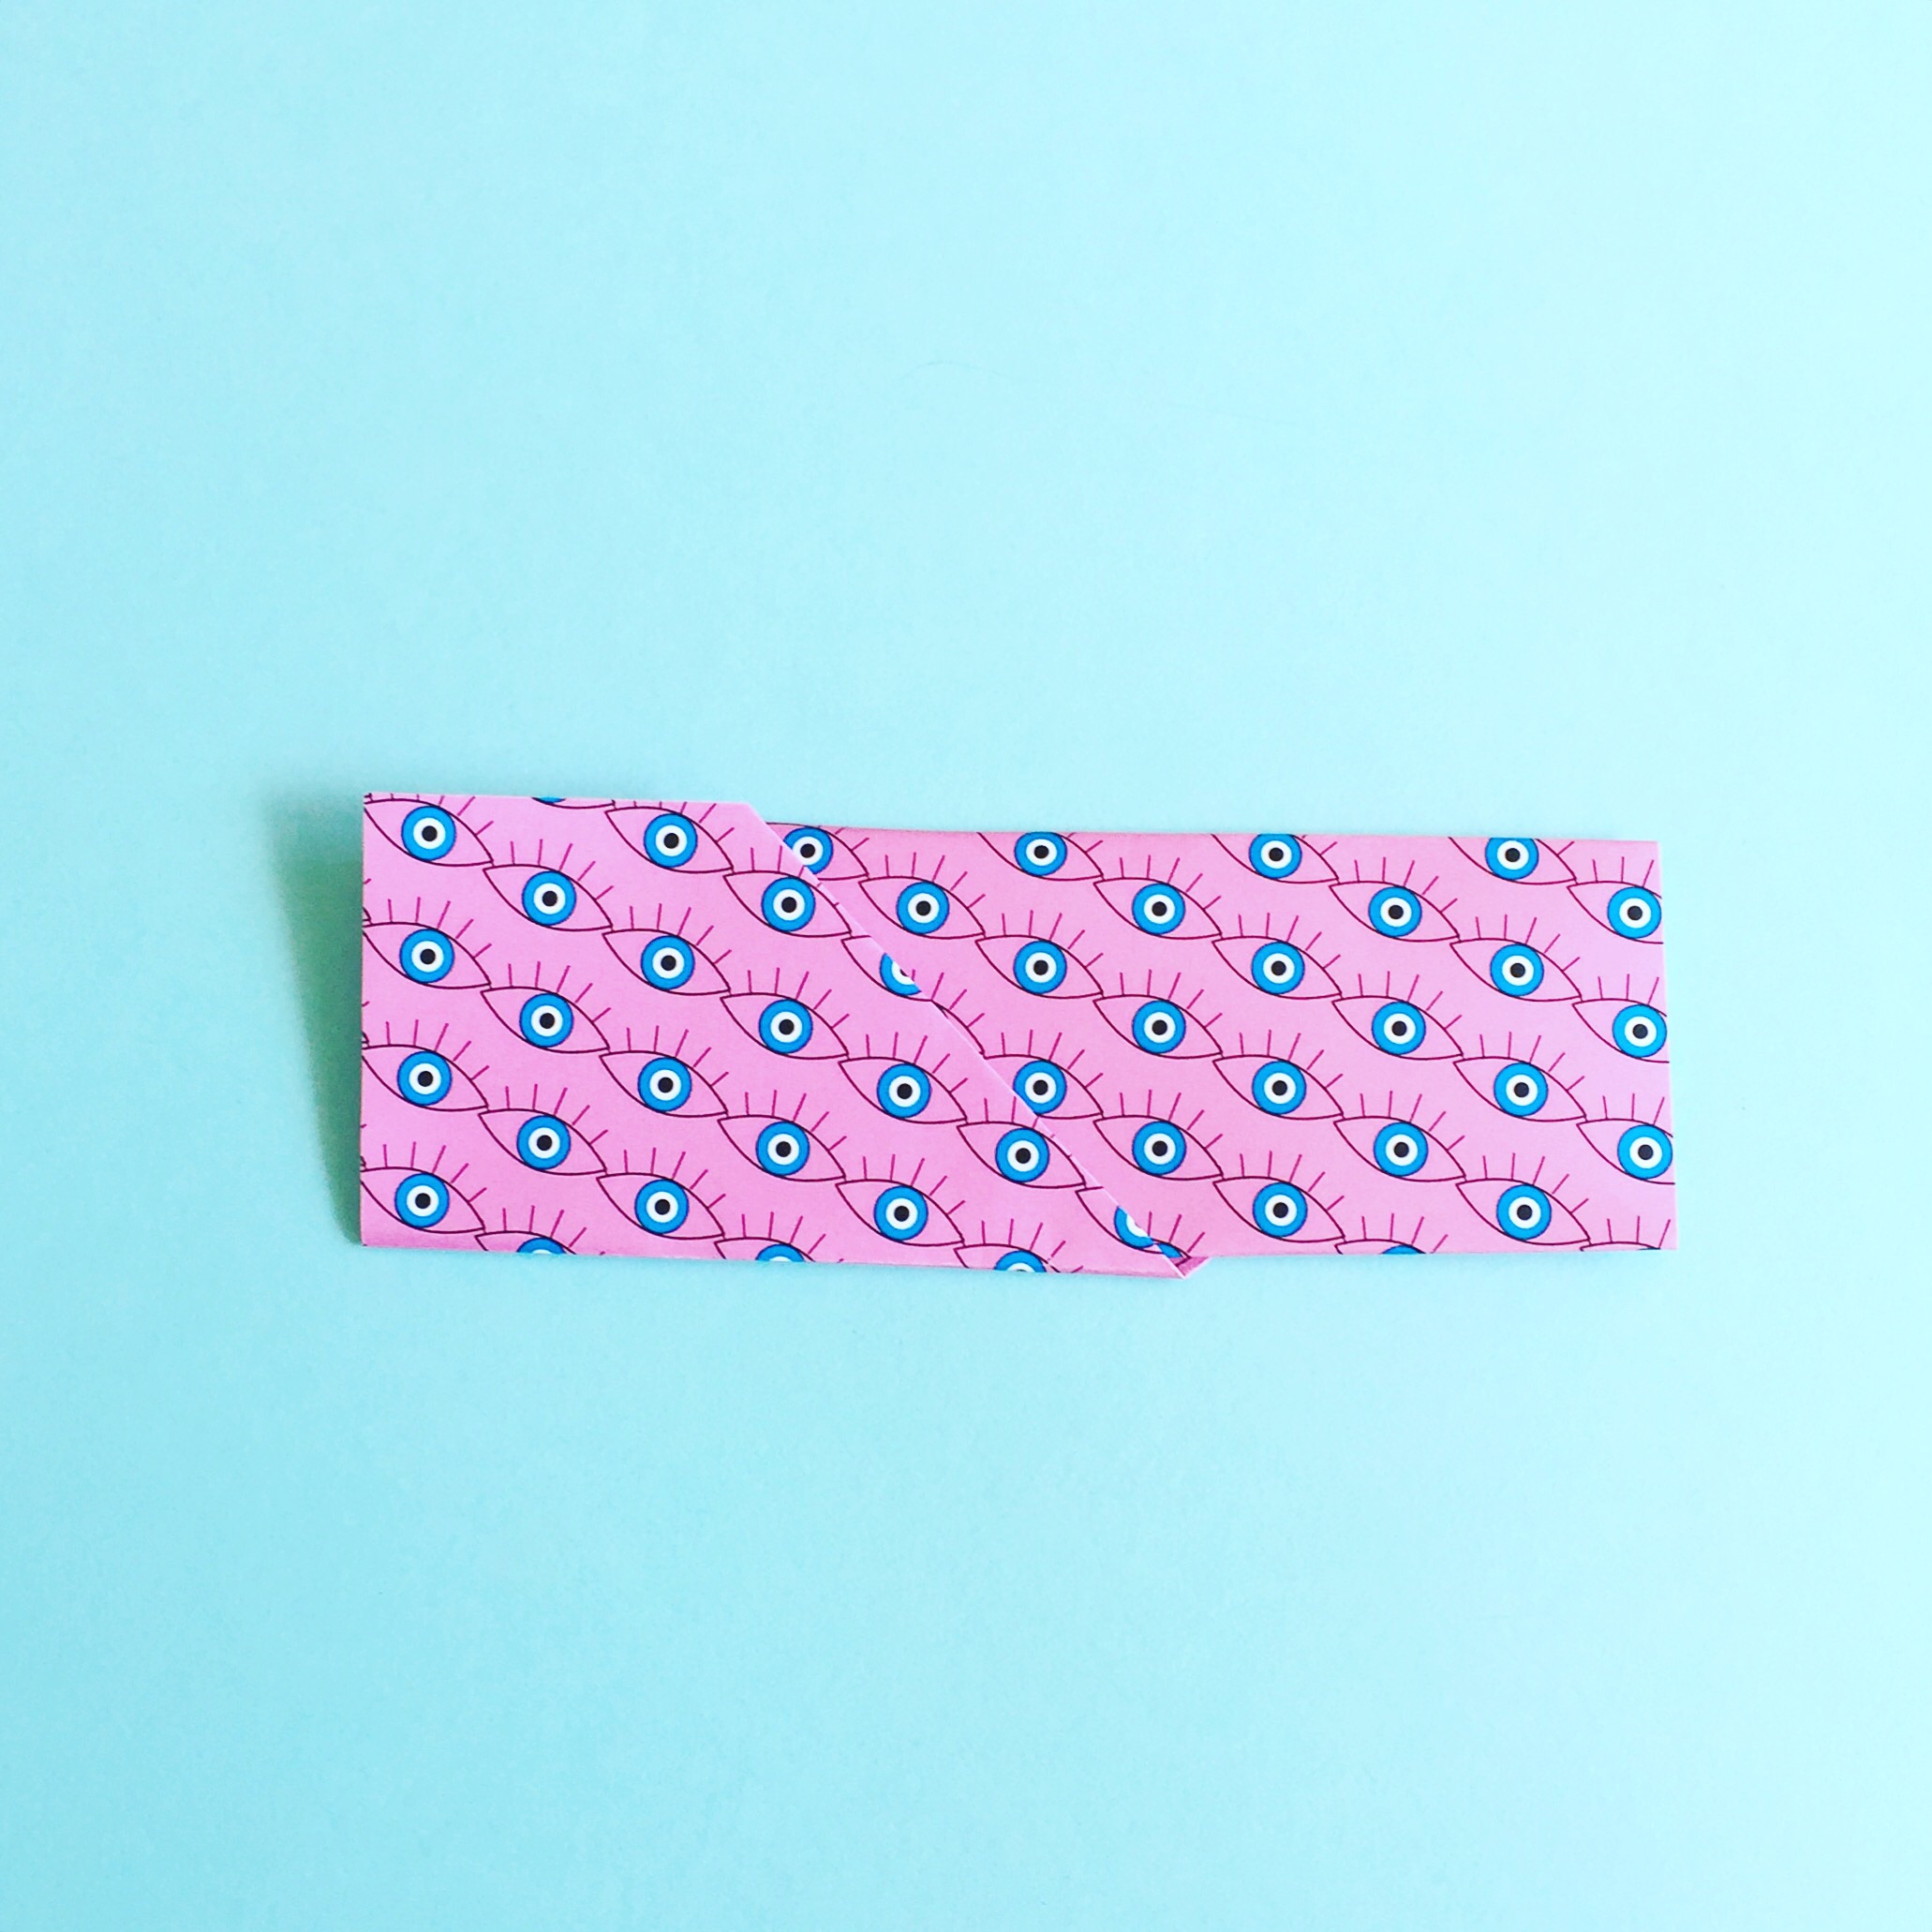
3. Trim strips from template with scissors. If you have crimping scissors, it will be fun to give the strips a border. Scallop edge scissors are used in the example.

4. Take a ready filled sandwich and using one strip to wrap around, measure to size roughly how much paper strip you'd need. Measure and cut to size enough strips to cover the sandwiches you had prepared. 

image.jpg

5. Wrap paper strips around the sandwiches. Securely with cellotape, sticker, washi tape or even twine or a piece of string.

So here it is - all done! Bring out the bunting, or picnic mats, or some nice China, feast and have fun with your friends and family whether it's an outdoor picnic, afternoon tea, or home parties.

image.jpg

P.S. Using a mixture of different breads for example multigrain for one type of sandwich or rye on another. Same goes for filling the sandwiches in different bread shapes will be fun too.

We are curious to know what's your favorite sandwich fillings. Feel free to tag your sandwiches #iamacrafts to be featured. Bon appΓ©tit ! πŸ˜‹

DIY Picnic Menu Cutlery Holder

diyI AM AComment
image.jpg

It's the picnic season! Yay! With unpredictable weather fronts (Yup! We Brits love some weather chin wag β˜€οΈβ›ˆβ˜”οΈ), we should have a picnic regardless. Apart from waiting for the weather to turn sunnier, the alternative is to bring the outdoors in and have an indoor picnic - why not?

Whether it is indoor or outdoor we want to maximise the fun. With plenty of very cute and lovely picnic plates and accessories around, for example Tiger Stores have some rather sweet stripey paper plates and dinky paper plates which are amazing for cakes 🍰 - perfect to fit a slice of Battenberg cake and Bakewell Tarts as we did in our picnic photo shoot. Also at Tiger Stores look out for some pretty cool fries holder which we have used for holding carrot sticks. Marks and Spencer has a lovely confetti pattern paper plate set and of course Meri Meri they have some very sweet flowery Liberty print party paper plates.

To compliment the cute cutlery, paper plates we have a tutorial where we will make some cutlery holders or chopsticks holders with a hidden menu. This is also perfect for dinner parties at home when you want to tell your guests a little bit about the food or even include a pre dinner game. So let's begin the fun!

image.jpg

 Ingredients :

  • Book of wrapping paper for Small Presents or any wrapping paper or A4 paper you have
  • Scissors / Cutter
  • Cutlery / Chopsticks
  • Ruler
  • Cutting Mat (if you are using a cutter) 
  • Printer if you are printing the menu / Pencil or Pen if you are handwriting it
image.jpg

Method :

image.jpg

1. Write or print the menu on to the selected sheet of wrapping paper. If you are using our wrapping paper book one sheet of wrapping paper will yield 2 sets of cutlery holders. Take note, we did mark a guide in the middle of the paper to make it easier to split the paper in half. It's also just as easy to fold the piece of paper in half to mark the middle line.

image.jpg

2. Split the paper with the menu written on it into 2 halves. We have found using a cutter easier in this case as have created a split line. Scissors will just be as straight forward.

image.jpg

3. Take one of the split sheets, with the pattern side facing down and menu side facing up, fold it in half.

image.jpg

4. Fold once more in half. 

image.jpg

5. Fold the opposite side in half. 

image.jpg

6.  Open up the sheet. Turn the sheet lengthways and fold a triangle, starting from the bottom right hand corner to the second fold line.

image.jpg

7.Β  Fold down a small triangle, starting from the top right side of the sheet to the first line of the fold.

image.jpg

8. Start from the small triangle side, fold over once.

image.jpg

9. Repeat the fold, by folding over one more time. 

image.jpg

10. Using the bottom right triangle, fold up to form a rectangle.

image.jpg

11. Rotate the rectangle left, i.e. Have the rectangle facing upright. Then fold up roughly 0.5cm from the bottom. This will help create a seal for the cutlery holder.

image.jpg

12. Flip over the rectangle and here you go! A cutlery holder with a surprise hidden menu is made. Start slotting in your cutlery! Repeat the above steps to make more cutlery holders. 

image.jpg

In Central London, here are a few places we love to have a picnic :

  • Hyde Park
  • Coram's Fields
  • Lincoln's Inn Fields
  • Primrose Hill
  • Regent's Park
  • Victoria Park
  • Green Park
  • St. James's Park

Have  a yummilicious and fun picnic - Happy feasting! πŸ˜‹πŸ½

image.jpg

How to Make A Pimm's Cocktail

pencils, diy, stockistsI AM AComment
pimm's summer cup cocktail ingredients.jpg

The last few days we have been very lucky in London with the temperature soaring - it may seem that F-I-N-A-L-L-Y, we have the first signs of some warmer weather. After an April month of cold rain drizzles, think it's about time the sun makes an appearance: Hello Sunshine! πŸ‘‹β˜€οΈ

With the blazing heat, and temperatures up to 26 degrees (apparently today being the hottest day in the UK to date for the year) , apart from ice creams to cool us down, think it's also time for the great British Pimm's cocktail. A refreshing summer cocktail perfect for any parties. 

british pimm's cocktail recipe.jpg

Here's how to make a Pimm's cocktail. Our recipe is as follows:

Ingredients: (per single serving)

  • 1 Part Pimm's Summer Cup
  • Mint Leaves
  • Few slices of Peeled Cucumber
  • 3 Parts of Lemonade
  • Few segments Orange
  • Few slices of Strawberries

Method : 

  • Cut a cucumber in half. Using a peeler, peel the cucumber into long lengthy stripes. (Alternatively, you may slice the cucumber into little rounds, depending on how you would like to decorate your cocktail glasses).
  • Crush the mint in the cocktail glass.
  • Add some ice. 
  • Add 1 part of Pimm's.
  • Add the orange segments, strawberries and cucumber slices.
  • Top the drink with 3 parts of Lemonade, give it a good stir. Add a straw of your choice. We find the straws from Tiger , yup that stripey gold straw in the pictures is pretty cool. πŸ‘Œ

Cheers! Enjoy and Sip happily. 🍹 

british pimm's inspired non alcoholic iced tea recipe.jpg

Other Variations : 

  • For a non alcoholic cocktail, you may swap out the Pimm's with a cold brew iced tea.
  • For a lovely ice cold dessert, the above recipe can be turned into alcohol / non alcohol pops. Simply freezing the above in ice lollipop trays to make frozen ice lollies. Strain the fruit if you'd prefer a smooth ice lolly. πŸ˜‹

If like us, you are a fan of this British cocktail, we have created some pencils which we have foiled both sides; one side with the Pimm's cocktail ingredients, and the other side to make the cocktail. Recipe by your hand at all times. The pencils are available at Anthropologie or in our online store (by clicking the link below).

World Stationery Day

stationeryI AM AComment
stationery movement.jpg

Yay!!! It's World Stationery Day.  A day which celebrates all things stationery with the world.

One of the key themes that World Stationery Day celebrates is literacy - the importance of being able to write and the importance of writing by hand.

To celebrate this special day as part of National Stationery Week we shot a picture that features writing tools to dress your desk including: our Ready Salted Pencil, part of the English Crisps Pencil set along with Dotty the sharpener. The paper to write on which includes our Mint Condition notebook, our grid Have It Your way notepad and also striped sheets from our book of wrapping paper for small presents, where the sheets not only work well as wrapping paper but also work nicely as letter writing paper. 

Woohoo! We just about have all the stationery that need to kick start any writing projects. β˜ΊοΈπŸ‘Œ #keepwriting #writingmatters #worldstationeryday

Color Swatching - Rainbow - Unicorn moment

design, pencilsI AM AComment

Apart from creating new designs for the brand, another portion of work we do is on bespoke projects for exhibition merchandise, bespoke merchandise, PR events etc.

Currently at the desk now swatching for a new theme. Not sure is it the recent change in weather, it's April after all, April showers I guess. Rainbow has been in the head. So yay! Why not swatch a rainbow shade for a new set of pencils for this apt unicorn moment?  πŸŒ¦πŸŒˆπŸ¦„βœοΈ

P.S. Simply love emojis - totally a picture is worth a thousand words.

Rainbow Unicorn Pencils.jpg

Last Minute Gift - Hand Tie Bouquet

diyI AM AComment

Uh oh! We are due to visit a friend and are stuck for ideas for gifts. Whoops. 😰 Left it a bit too late again.

As we are officially in spring, flowers come straight into mind. We love gifting handmade gifts - to us, it's the personal touch, there is just something magical and touching about it. Something unique, something you have created, your own mark.

Recently in our local supermarket, we have been spotting some really beautiful tulips, they have two color shades on them, a bit like oriental lilies but with a more rounded edge. So why not make a hand tie bouquet since tulips are in season? 🌷

To add a personal touch, we have used our wrapping paper, which is perfect for this occasion as it is perfectly trimmed for small bouquets e.g for half to a dozen of tulips, or roses. Thought about using mini roses too for this bouquet as there was a beautiful orange bunch, but the heart has been stolen by the beautiful dual tone on the tulips. 

This is how we made our bouquet:

1) Trimmed the leaves and ends of the stalks 

2) Blot dry any excess water. If you are traveling a long distance or have a good few hours to go before you pass on your gift. You may wrap a soaked cotton wool with water and bind it with cling film. Making sure the water doesn't seep through the cling film to dampen the paper but enough to keep the flowers moist. 

3) Tie the bouquet with a rubber band

4) Choose and tear a sheet of wrapping paper from the Gift Wrapping paper book 

5) Lay the wrapping paper in a landscape view. Lay the flowers on top about 45 degrees of the wrapping paper.

6) Roll wrapping paper to form a cone around the bouquet.

7) Secure with your choice of ribbon.  

Et voilΓ  ! A little quick and easy handmade gift, (That you made it yourself! High five! πŸ™Œ) - a perfect, small personalised present. πŸ’ 

hand tie tulip bouquet.jpg

National Pencil Day

pencils, designI AM AComment

Yay! It's the 30th March and... oh Hello Sweet Pea... it's National Pencil Day! OMG!  ✏️❀️

pencils.jpg

Pencils mean a lot to us as a lot of our creativity, sketches, ideas all started with them. Our sweet pea to not to forget. Dedicating to the humble pencil on #PencilDay.

Thanks to our Instagram friend @366cards for reminding us of this lovely day. She has made the loveliest card inspired by our Crisps pencils to celebrate this lovely pencil day! Pssst... Don't forget to check out @366cards on Instagram. It's so creative - a national day is celebrated each day of the year with something special that she has created in a form of a card. Just look at the picture below - isn't it totally ace bananas! πŸ––πŸŒπŸŽ‰ Simply - follow worthy!

Image courtesy of @366cards on Instagram - Pencil Card to celebrate National Pencil Day

Image courtesy of @366cards on Instagram - Pencil Card to celebrate National Pencil Day