Eggstra Eggstra! This year Easter lands on April's Fools day. We always like a bit of tongue and cheek, there's no better time for a tutorial for a little bit of egg-foolery! Hee hee!
Who likes chocolate easter eggs? We do! We have just the tutorial for the chocoholics out there that are expecting a chocolate easter egg this easter - NOT! It's April's Fool after all.
Through this tutorial we will create the egg-foolery of faux chocolate eggs, by dyeing eggs to look like chocolate eggs. Yes, there's more to this than meets the eye and we shall sit the eggs on to a placement card. Perfect as an addition to an Easter table setup.

Here's how to make them:
MATERIALS
6 Duck Eggs (We use Clarence Court ones, as duck eggs have a white shell so it easier to colour the eggs)
12 Quail Eggs (For faux mini chocolate eggs, just like mini eggs, quail eggs are ideal)
Breakfast Tea Bags (We love a strong brew. We like Yorkshire Tea Bags).
Coffee
Distilled White Vinegar
Paper to print the placement cards. We recommend pastel paper from Paperchase, but white paper will just look as nice.
TOOLS
scissors
spoon
oven rack to dry the eggs
saucepan or bowls to dye eggs in
METHOD
Hard boil the eggs. For the duck eggs it takes about 15-20 minutes. For quail eggs about 10 minutes. Once boiled, run the eggs through cold water to cool the eggs down.
We are using two of our daily brews, coffee and tea as natural dyes to dye the eggs.
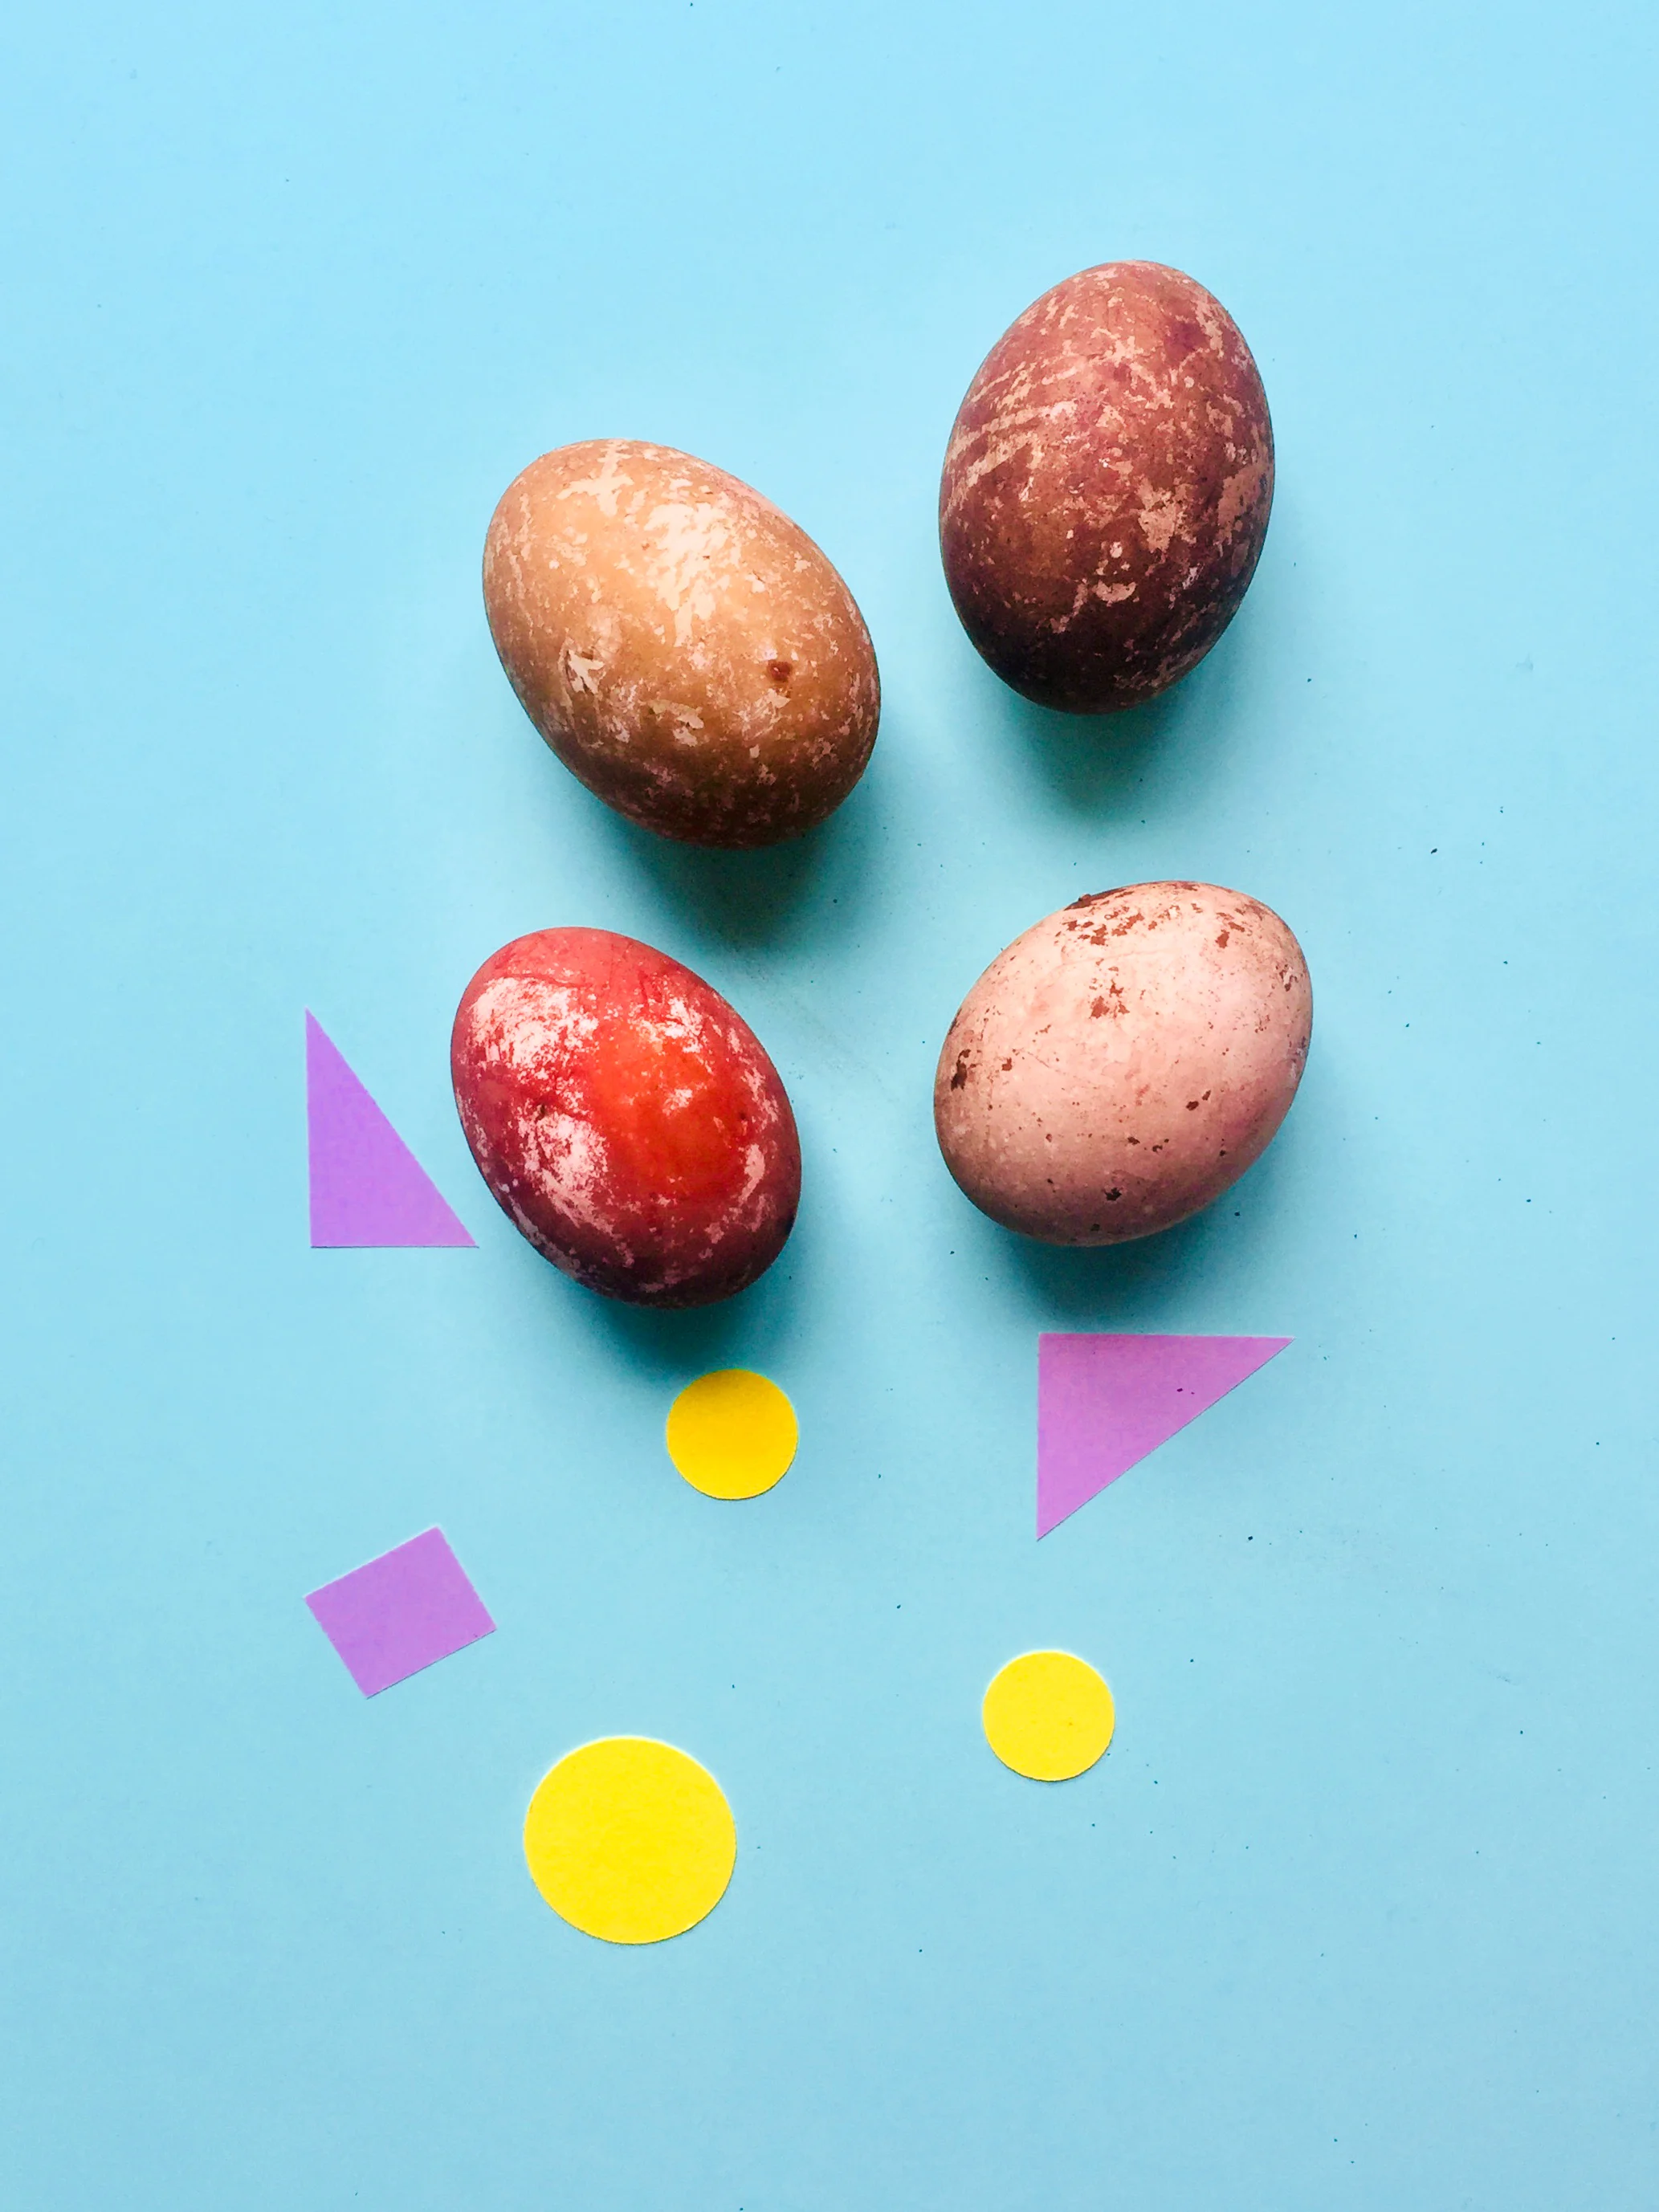
Dark Brown Effect (like Dark Chocolate) : Make 2 strong cups of coffee and add 2 tablespoons of vinegar and pour into a saucepan.
Reddish Brown Effect (like Milk Chocolate) : Pour 2 cups of hot water into a bowl and add 4 tea bags. Add 2 tablespoons of vinegar into the bowl. Leave the tea bags in to brew for a stronger colour.
Add 3 eggs to the coffee mixture and slowly simmer the eggs for about 30 minutes. The liquid should not cover the eggs entirely (for a marbled effect). If you prefer an even coat of colour around the eggs make sure the eggs are fully immersed in the dye. Whilst the eggs are simmering, use a spoon to turn them every now and then.
Similarly add 3 eggs to the tea mixture. We have done a 50:50 split between the coffee / tea dyed eggs, it's optional. The liquid should not cover the eggs entirely (for a marbled effect). If you prefer an even coat of colour around the eggs make sure there is enough liquid to immerse the eggs. Whilst the eggs are simmering, use a spoon to turn them every now and then.
The richness of the colour depends on how long you soak the eggs in the dye. For the marbled effect, as the vinegar erodes the texture of the shells once the dye is cooled, gently rub the surface of the eggs in a circular motion. You will see some of the dye colours being rubbed off ( don't worry, it’s part of the effect ), and place the eggs back to the dye. In total we left the eggs for a deeper colour in for about 3 hours. For the lighter shade eggs, we took them out after an hour.
Leave the eggs onto an oven rack to dry. The tea bags dye liquid should result in eggs that have a more reddish tone like milk chocolate, but that is also dependent on the type of tea you use. The coffee dye should result in a darker brown, like dark chocolate shade.
Eggs dyeing is a bit of "Eggsperiment" - if the solution is too acidic, the egg shells are more prone to crack. For dyeing quail eggs, note that, if the quail eggs are submerged in the dye for about an hour, when you rub the egg shells, the natural pigmentation (i.e. the teeny tiny polka dot freckles) may be rubbed off. This is due to the acid softening the shells of the eggs.
8. Download the templates, print and cut them around the dotted line. We printed the placemat cards on pastel paper, however white A4 paper will work. The resultant placemat card will be around the size of a A6 postcard. and each postcard has tiny chicken feet illustrated on them with the options of the text "You're A Cracker!" or "You Make Me Crack" , quite literally. The templates can be downloaded by clicking on the below link:

9. Place the dried dyed eggs on to the placement cards and share the surprise!

The tradition of decorating easter eggs, is to signify the arrival of Spring. Although the weather is not quite spring yet, but we hope the pastels and fun with this little spoof will bring a spring in your step. Happy Easter!
P.S. The placement cards can also be downloaded to be used for real chocolate easter eggs (without any foolery) for plenty of smiles.