
It's the picnic season! Yay! With unpredictable weather fronts (Yup! We Brits love some weather chin wag ☀️⛈☔️), we should have a picnic regardless. Apart from waiting for the weather to turn sunnier, the alternative is to bring the outdoors in and have an indoor picnic - why not?
Whether it is indoor or outdoor we want to maximise the fun. With plenty of very cute and lovely picnic plates and accessories around, for example Tiger Stores have some rather sweet stripey paper plates and dinky paper plates which are amazing for cakes 🍰 - perfect to fit a slice of Battenberg cake and Bakewell Tarts as we did in our picnic photo shoot. Also at Tiger Stores look out for some pretty cool fries holder which we have used for holding carrot sticks. Marks and Spencer has a lovely confetti pattern paper plate set and of course Meri Meri they have some very sweet flowery Liberty print party paper plates.
To compliment the cute cutlery, paper plates we have a tutorial where we will make some cutlery holders or chopsticks holders with a hidden menu. This is also perfect for dinner parties at home when you want to tell your guests a little bit about the food or even include a pre dinner game. So let's begin the fun!

Ingredients :
- Book of wrapping paper for Small Presents or any wrapping paper or A4 paper you have
- Scissors / Cutter
- Cutlery / Chopsticks
- Ruler
- Cutting Mat (if you are using a cutter)
- Printer if you are printing the menu / Pencil or Pen if you are handwriting it

Method :

1. Write or print the menu on to the selected sheet of wrapping paper. If you are using our wrapping paper book one sheet of wrapping paper will yield 2 sets of cutlery holders. Take note, we did mark a guide in the middle of the paper to make it easier to split the paper in half. It's also just as easy to fold the piece of paper in half to mark the middle line.

2. Split the paper with the menu written on it into 2 halves. We have found using a cutter easier in this case as have created a split line. Scissors will just be as straight forward.

3. Take one of the split sheets, with the pattern side facing down and menu side facing up, fold it in half.

4. Fold once more in half.

5. Fold the opposite side in half.

6. Open up the sheet. Turn the sheet lengthways and fold a triangle, starting from the bottom right hand corner to the second fold line.

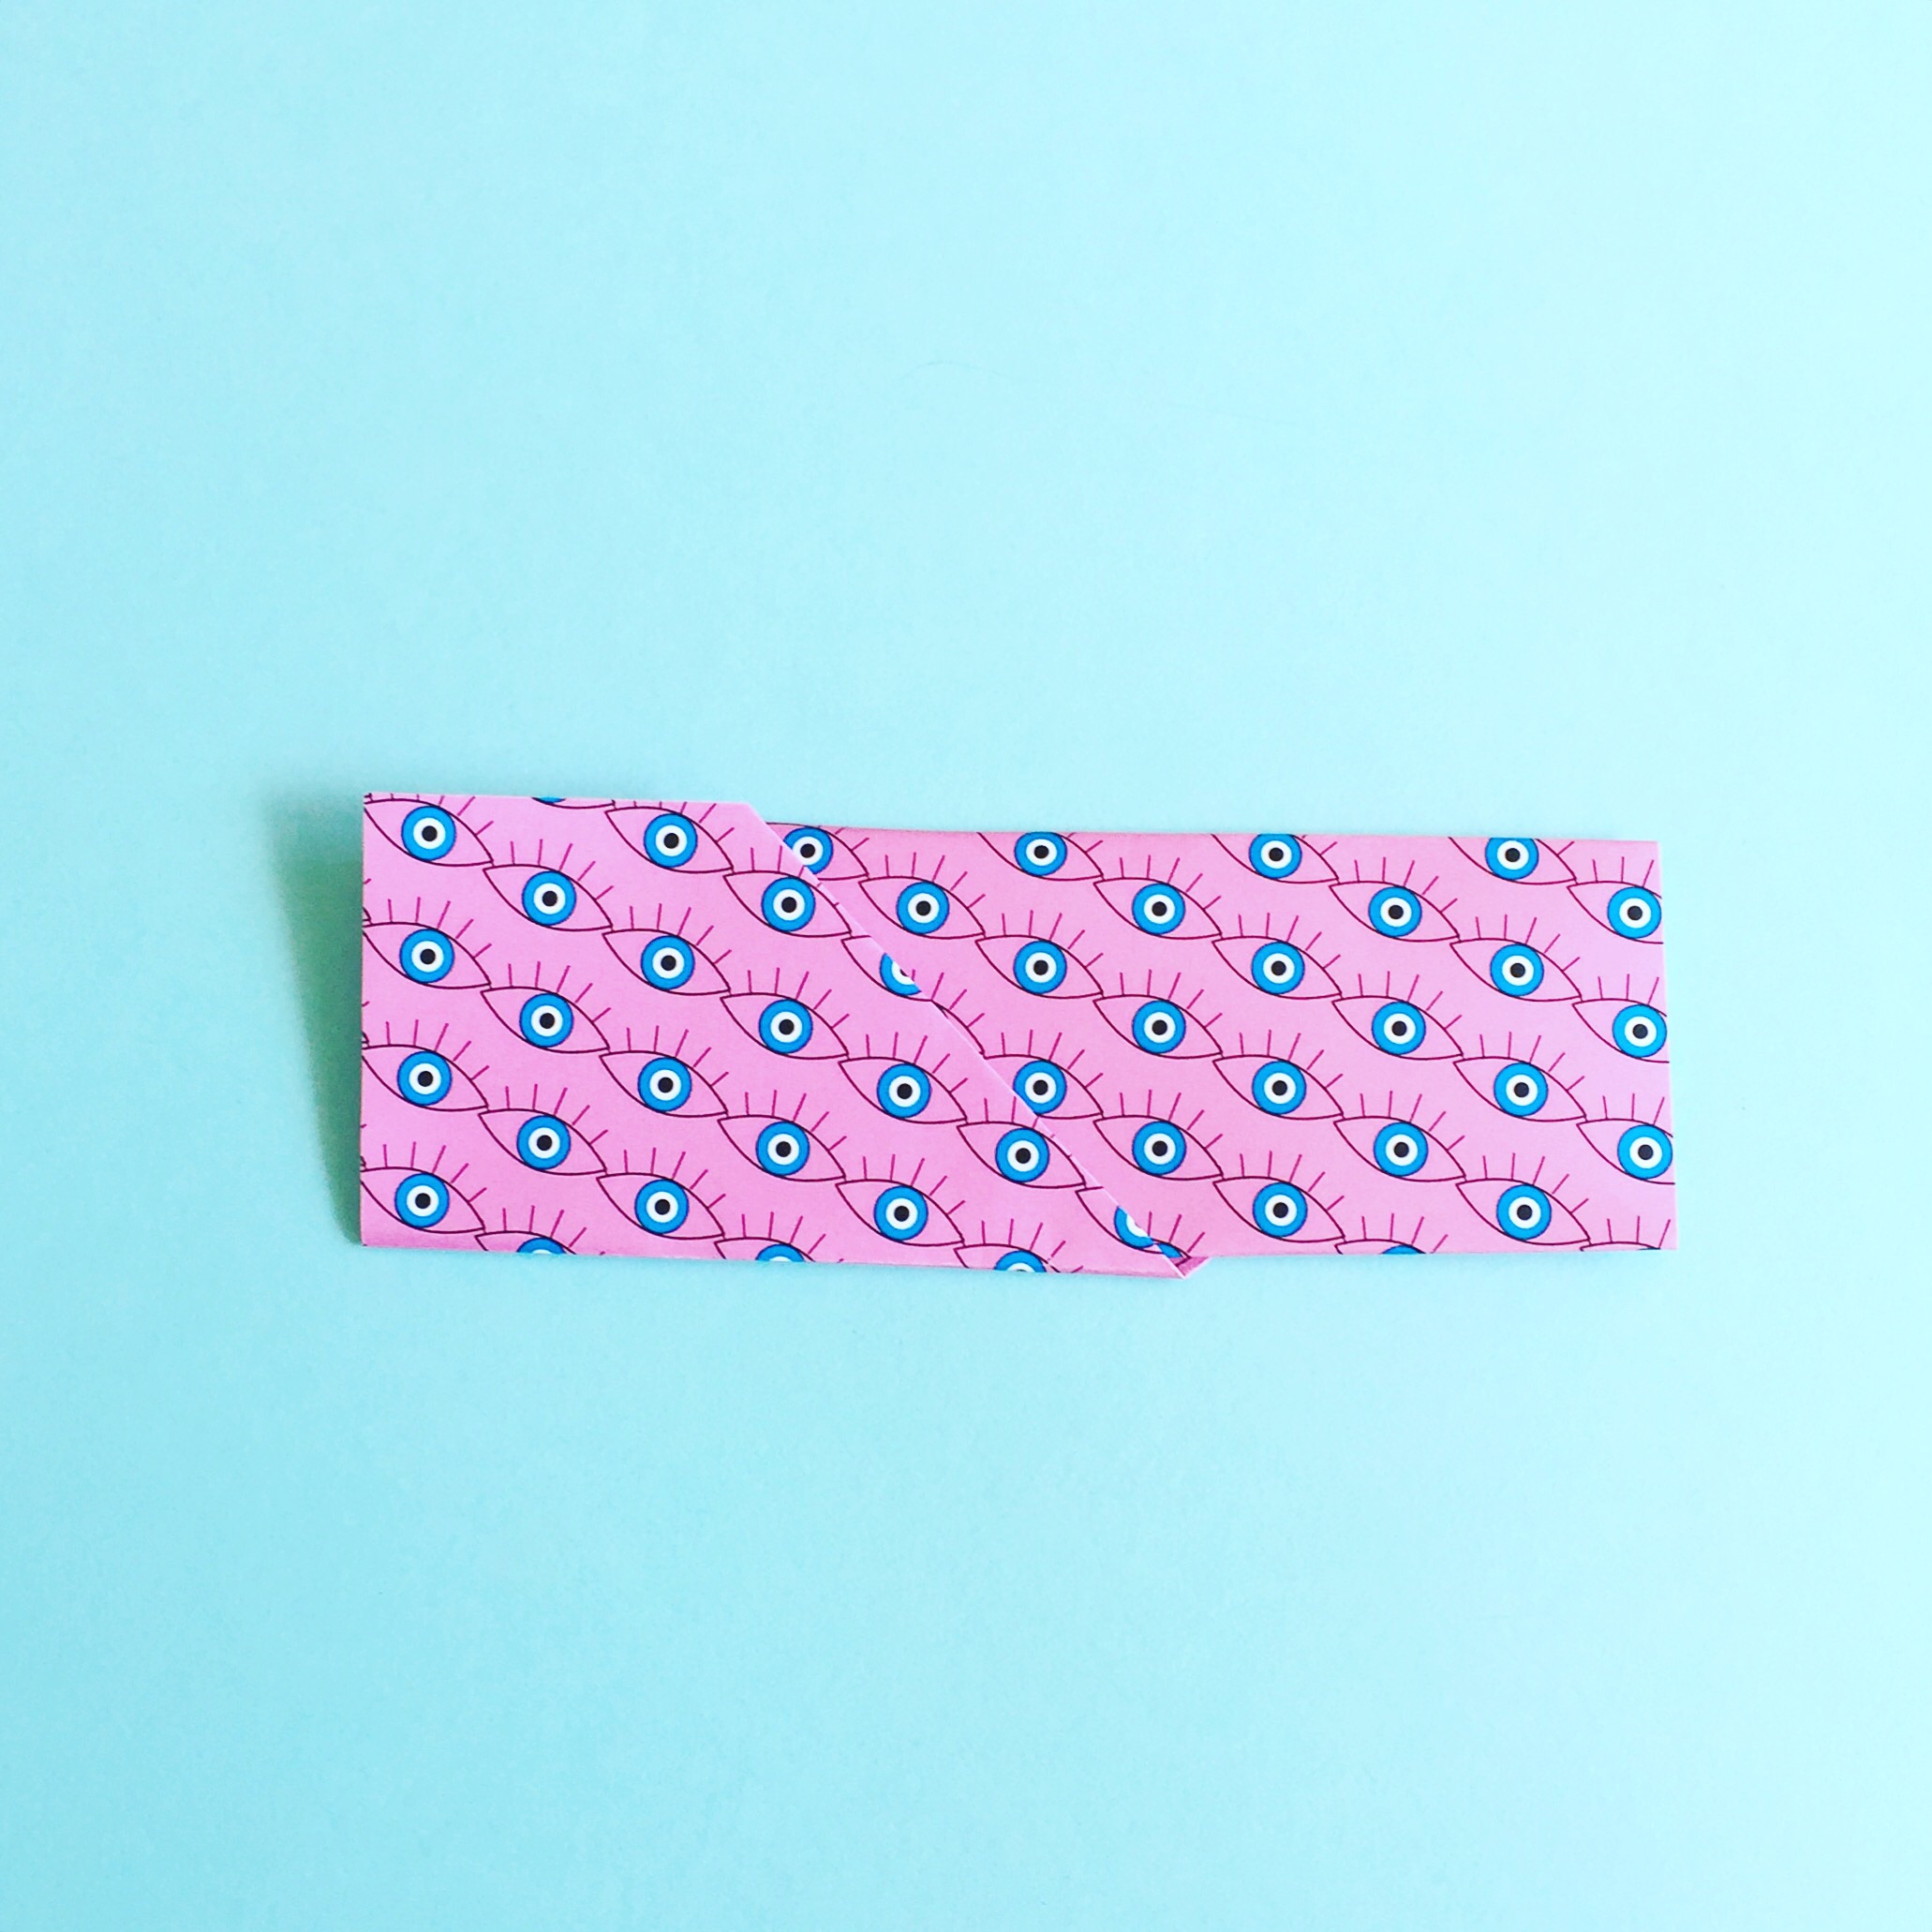
7. Fold down a small triangle, starting from the top right side of the sheet to the first line of the fold.

8. Start from the small triangle side, fold over once.

9. Repeat the fold, by folding over one more time.

10. Using the bottom right triangle, fold up to form a rectangle.
11. Rotate the rectangle left, i.e. Have the rectangle facing upright. Then fold up roughly 0.5cm from the bottom. This will help create a seal for the cutlery holder.

12. Flip over the rectangle and here you go! A cutlery holder with a surprise hidden menu is made. Start slotting in your cutlery! Repeat the above steps to make more cutlery holders.

In Central London, here are a few places we love to have a picnic :
- Hyde Park
- Coram's Fields
- Lincoln's Inn Fields
- Primrose Hill
- Regent's Park
- Victoria Park
- Green Park
- St. James's Park
Have a yummilicious and fun picnic - Happy feasting! 😋🍽
